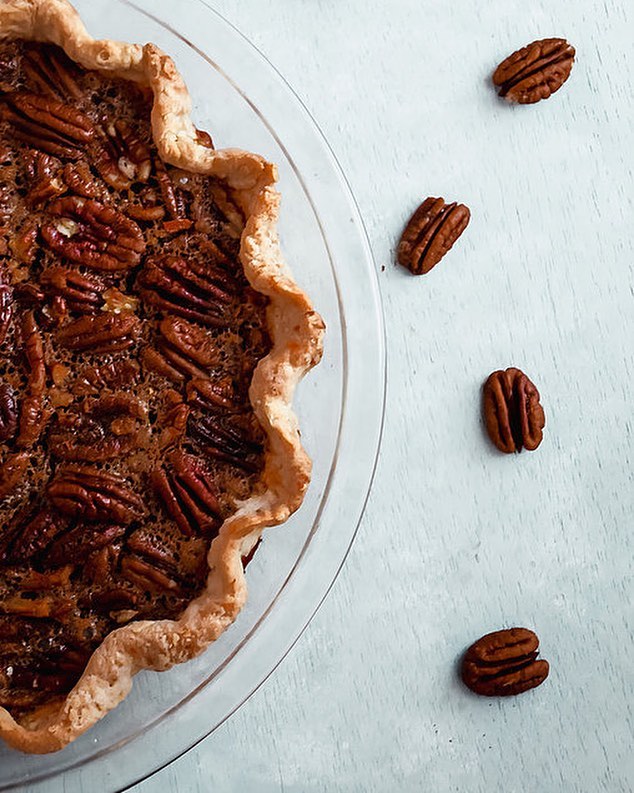
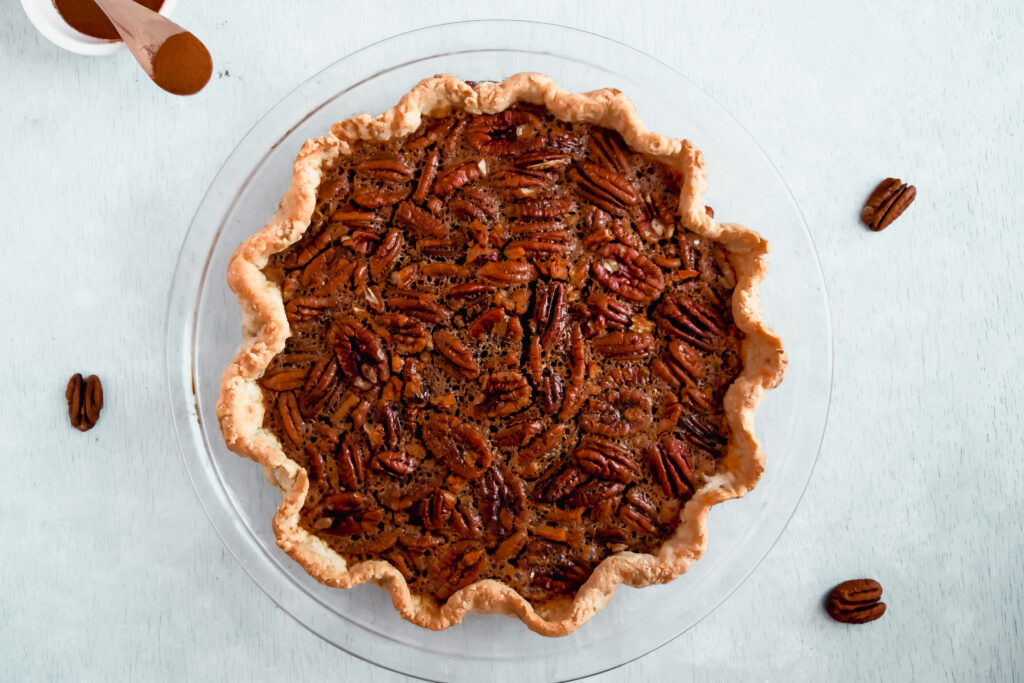
I am always trying to make alternative and healthy recipes. We can still indulge in the tasty things, but make them healthier for us. Here is my take on a healthier crust. This is a dairy-free no butter pie crust. I also have on the blog the Almond Flour Pie Crust, but this one is using regular flour – just no butter. You can use this crust on any sweet or savoury pie recipe! You can check it out on my Healthy Pecan Pie Recipe.
WHY YOU WILL LOVE THIS RECIPE
For those of us that are dairy-free and don’t eat butter, this no butter pie crust is a great alternative. It gives the same flaky crust and can be used for a sweet or savoury pie!
TIPS ON HOW TO MAKE THIS RECIPE
- If you are going to take some time to make your filling I suggest putting the pie crust into the fridge so that it keeps its shape
- To use for a savoury pie, take out the coconut sugar from the recipe
OTHER RECIPES TO TRY IF YOU LOVED THIS ONE
If you tried this recipe from Nadina’s Kitchen, comment below and follow us on social media for more delicious recipes on Facebook, Instagram and Pinterest!
No Butter Pie Crust
Ingredients
- 1/2 cup of solid coconut oil
- 1 1/2 cup of pastry flour use whole wheat for a healthier alternative
- 1/2 tsp sea salt
- 1 tsp of coconut sugar
- large glass of ice water
Instructions
- Spread the coconut oil on a piece of parchment paper and stick into the freezer for 10 mins
- Combine in a food processor the pastry flour, sea salt and coconut sugar. Pulse a few times to mix well
- Remove coconut oil from the freezer and break into pieces, add to food processor
- Pulse until you start to see small balls being formed
- Start to add the ice water to the mixture 1 TBSP at a time pulsing as you add each tablespoon. It took me about 10 TBSP of water to get the dough to stick together
- Remove mixture from the food processor and place on a clean countertop
- Using your hands, form a ball with the dough and wrap in parchment
- Place dough in the fridge for 10 mins to form together
- After your dough is set, remove from the fridge and roll out with a rolling pin on a well floured surface. Make sure that you are flipping your dough and adding more flour to your surface each time
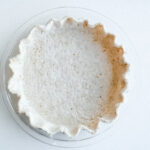
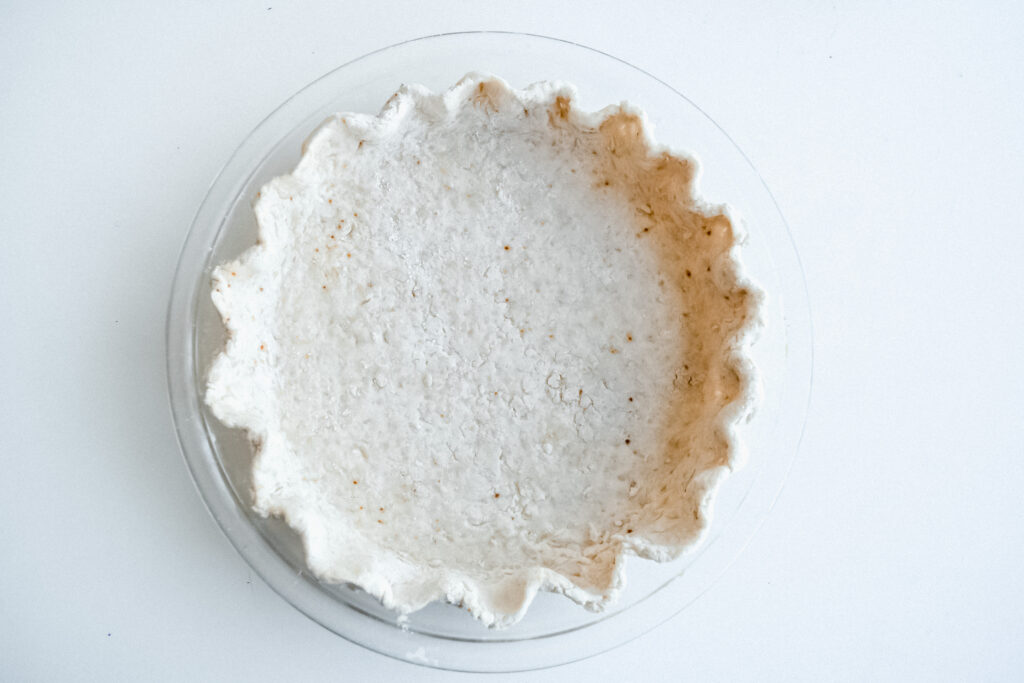
- One you have the dough rolled out even, place into pie dish and design the edge as you please! You can cut the excess off and do the design I have in the picture or use a fork to make a design around the pie dish
- Fill with your desired filling and bake!
- Enjoy!
Notes
- If you are going to take some time to make your filling I suggest putting the pie crust into the fridge so that it keeps its shape

